SPC Camber Bolts Install | 8th Civic
Quick Ref:
- Factory Strut Bolt – 17mm
- Factory Strut Nut – 19mm
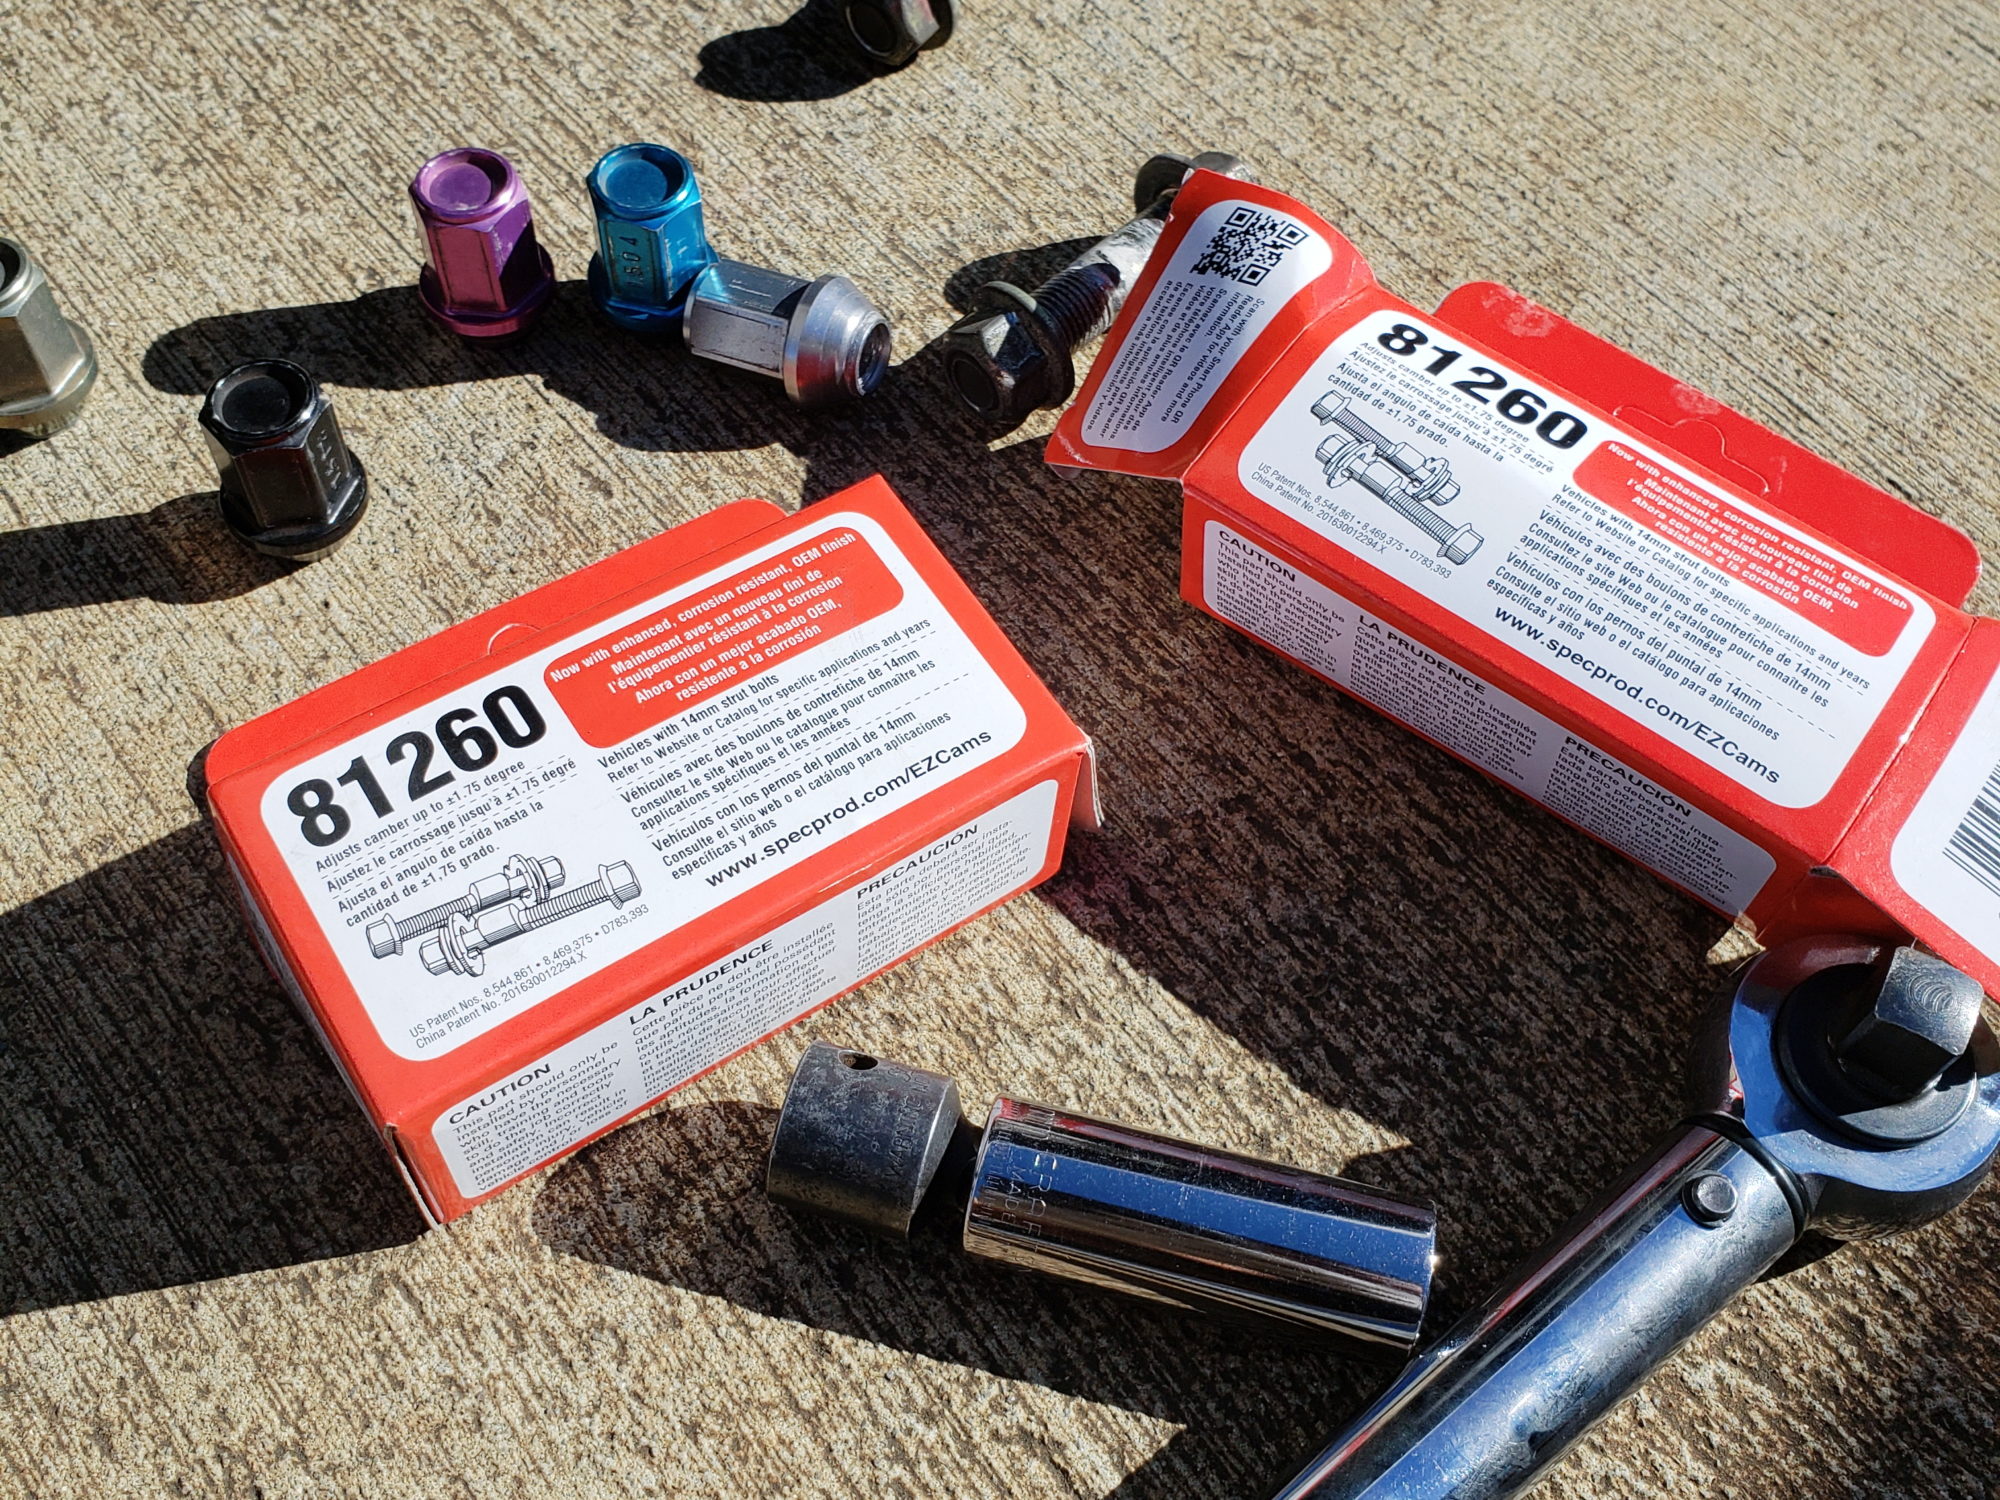
- SPC [part: 81260] Bolt – 15mm | Torque: 97 ft/lb
- SPC Nut – 18mm | Torque: 97 ft/lb
- For maximum negative camber
- Top bolt : Large tab toward car
- Bottom bolt : Large tab away from car
I bought these awhile ago but didn’t get to installing them till recently after recovering from the flu. I got two sets (for a total of 4 bolts) from SPC in order to get as much negative camber as possible.

Install was very straight forward.
- Loosen lugs on both front wheels
- Jack up the car and support on jack stands
- Remove lugs and wheels.
- Loosen factory top strut bolt and replace with the SPC camber bolt.
- Orient the big tab toward car and the arrow on bolt pointed away from the car at first. This will allow the the bolt to slide into place much easier.
- Snug nut but do not tighten
- Use a socket to turn bolt so that arrow on the bolt ends up pointing with large tab towards the car.
- This will move the top of the hub toward the car to add more negative camber. There will be resistance as the bolt turns.
- Tighten nut to 97 ft/lbs torque.
- Loosen factory bottom strut bolt and replace with another SPC camber bolt.
- Orient the big tab away from car and the arrow on bolt pointed toward the car at first. This will allow the the bolt to slide into place much easier.
- Snug nut but do not tighten
- Use a socket to turn bolt so that arrow on the bolt ends up pointing with the large tab away from the car.
- This will move the bottom of the hub away from the car to add more negative camber. There will be resistance as the bolt turns.
- Tighten nut to 97 ft/lbs torque


Passenger side Before… 
…Passenger side After 
Driver’s side before… 
…Driver’s side after
Take the car to get an alignment done as soon as possible. I got an alignment done at Island Brake and Alignment in Waimalu, Hawaii the very next day. I’ve been going to Derek for years now and I recommend going there over anywhere else when doing alignment on a car period.

I asked to maximize the camber in the front and to zero out the toe all around. He managed to get out a whopping -3.9 degrees evenly on both front wheels and zeroed out the the toe all around. I can’t wait to give the car a shot at the next autox. Stay tuned!


