S2000 Air Suspension Install | Suspension Components | Part 4
The previous two posts (Part 2 and Part 3) of the bag install deals with the air management, which is half of the install process. This post refers to the other half of the completion – the suspension components.
Having experience installing coilovers on an S2000 will expedite the process as it really is no difference in the installing the Airlift struts. If not, any experience installing coilovers is generally going to be of use.
Airlift does yet another favor in providing pictorial instructions on how to install the front and rear struts and it does a decent job. Referring to the guide alone would be enough, but I’d like to show exactly what I went through.
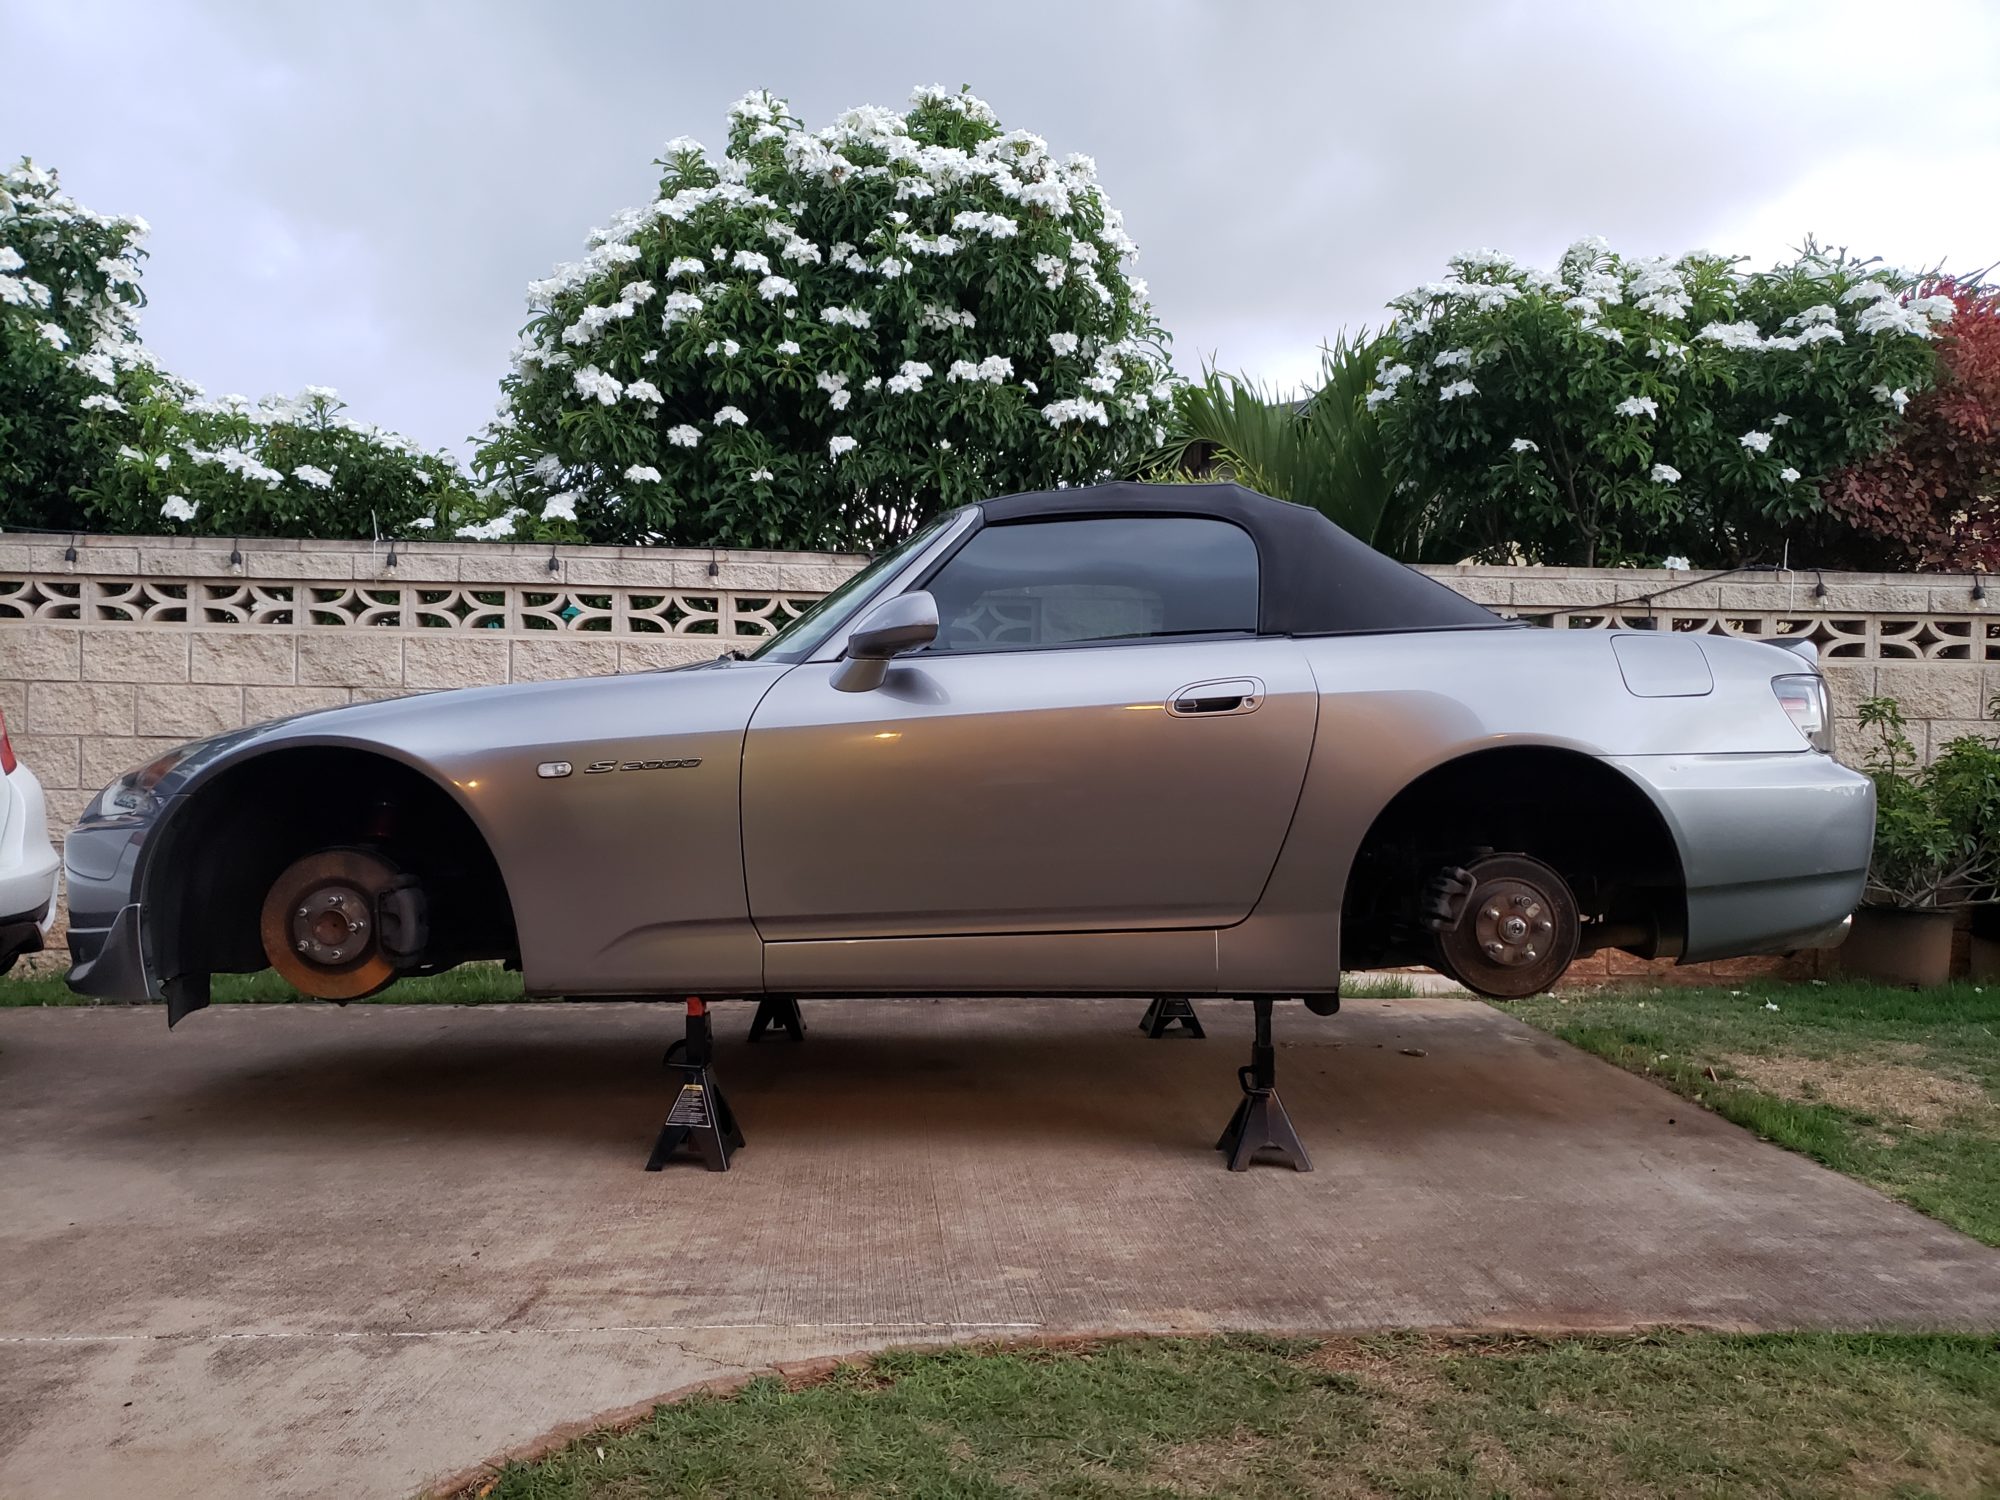
First thing is getting the car up on jack stands. I did so in the best, and safest, way possible.

My brother removed this little support bar in the back held on by a few bolts. I think it freed up some space.

Air Lift Strut Prep
Even before putting them on the car, my brother took the liberty to attach the braided air lines and 3/8th PTC fittings together using teflon tape. He eventually got the hang of it.
Keith from bagriders (did I mention how great they are? :D) gave me a way to know if something is torqued down enough when it came to fittings – hand tighten first, then about 1.5 turns using a wrench. It works.


Rear Suspension
For what it’s worth, in the middle of changing the suspension I got flashbacks of putting on coilovers on my old NB Miata. I guess there’s reason because of similarities… both are roadsters after all…
I was most anxious getting to the driver’s rear strut. It’s really cramped in there. I used an deep socket 14mm with an extension on a breaker bar to get to the top hat nuts. It actually wasn’t as bad as I thought… doing it on a Miata was way more challenging.


The very bottom pic shows when I unbolted the endlink first. The hub can be pushed down more to get the strut out. To get even more room, I took out both upper control arm bolts and the brake line bracket so that it didn’t stretch with the upper control arm loose.


The air strut went in really easy after that. The process of taking apart and putting back together is similar when I got to the passenger side.
One huge note here in the pic below is that this is the strut installed on the car right out of the box – no adjustments. I noticed the braided airline going into the strut would hit the endlink or rear sway bar under compression.

I unbolted the bottom strut and used a socket at the top hat center big bolt to turn the strut so that the braided air line is oriented more toward the rear of the car and out of the way of anything. I did the same on the passenger side and the result is shown in the picture below.

I believe I had to adjust the bottom cup a little to get the bolt to line back up with the lower control arm. I dunno if this is something for all the struts from the factory or just specific to me, but just wanted to note that I did have to adjust…
Front Suspension
This was much easier to tackle. Endlink -> brake line -> lower control arm -> upper control arm -> top hat was the order of what I unbolted to get out the strut.

Brake line 
Lower control arm bolt 
Upper control arm left 
Upper control arm right 
Top hat 
Strut out
The front strut went in much faster than the rears. The pic shows the brake line unbolted from the UCA. I ended up not doing it on the other side without problems.


I started a little later in the day to work on the car when it was cooler. I managed to put everything back together and tightened the last bolt down just before the sun set behind the horizon.

Next time I’ll be showing the routing of all the airlines, which to me is a fun process… See you next time DRIVERS!


