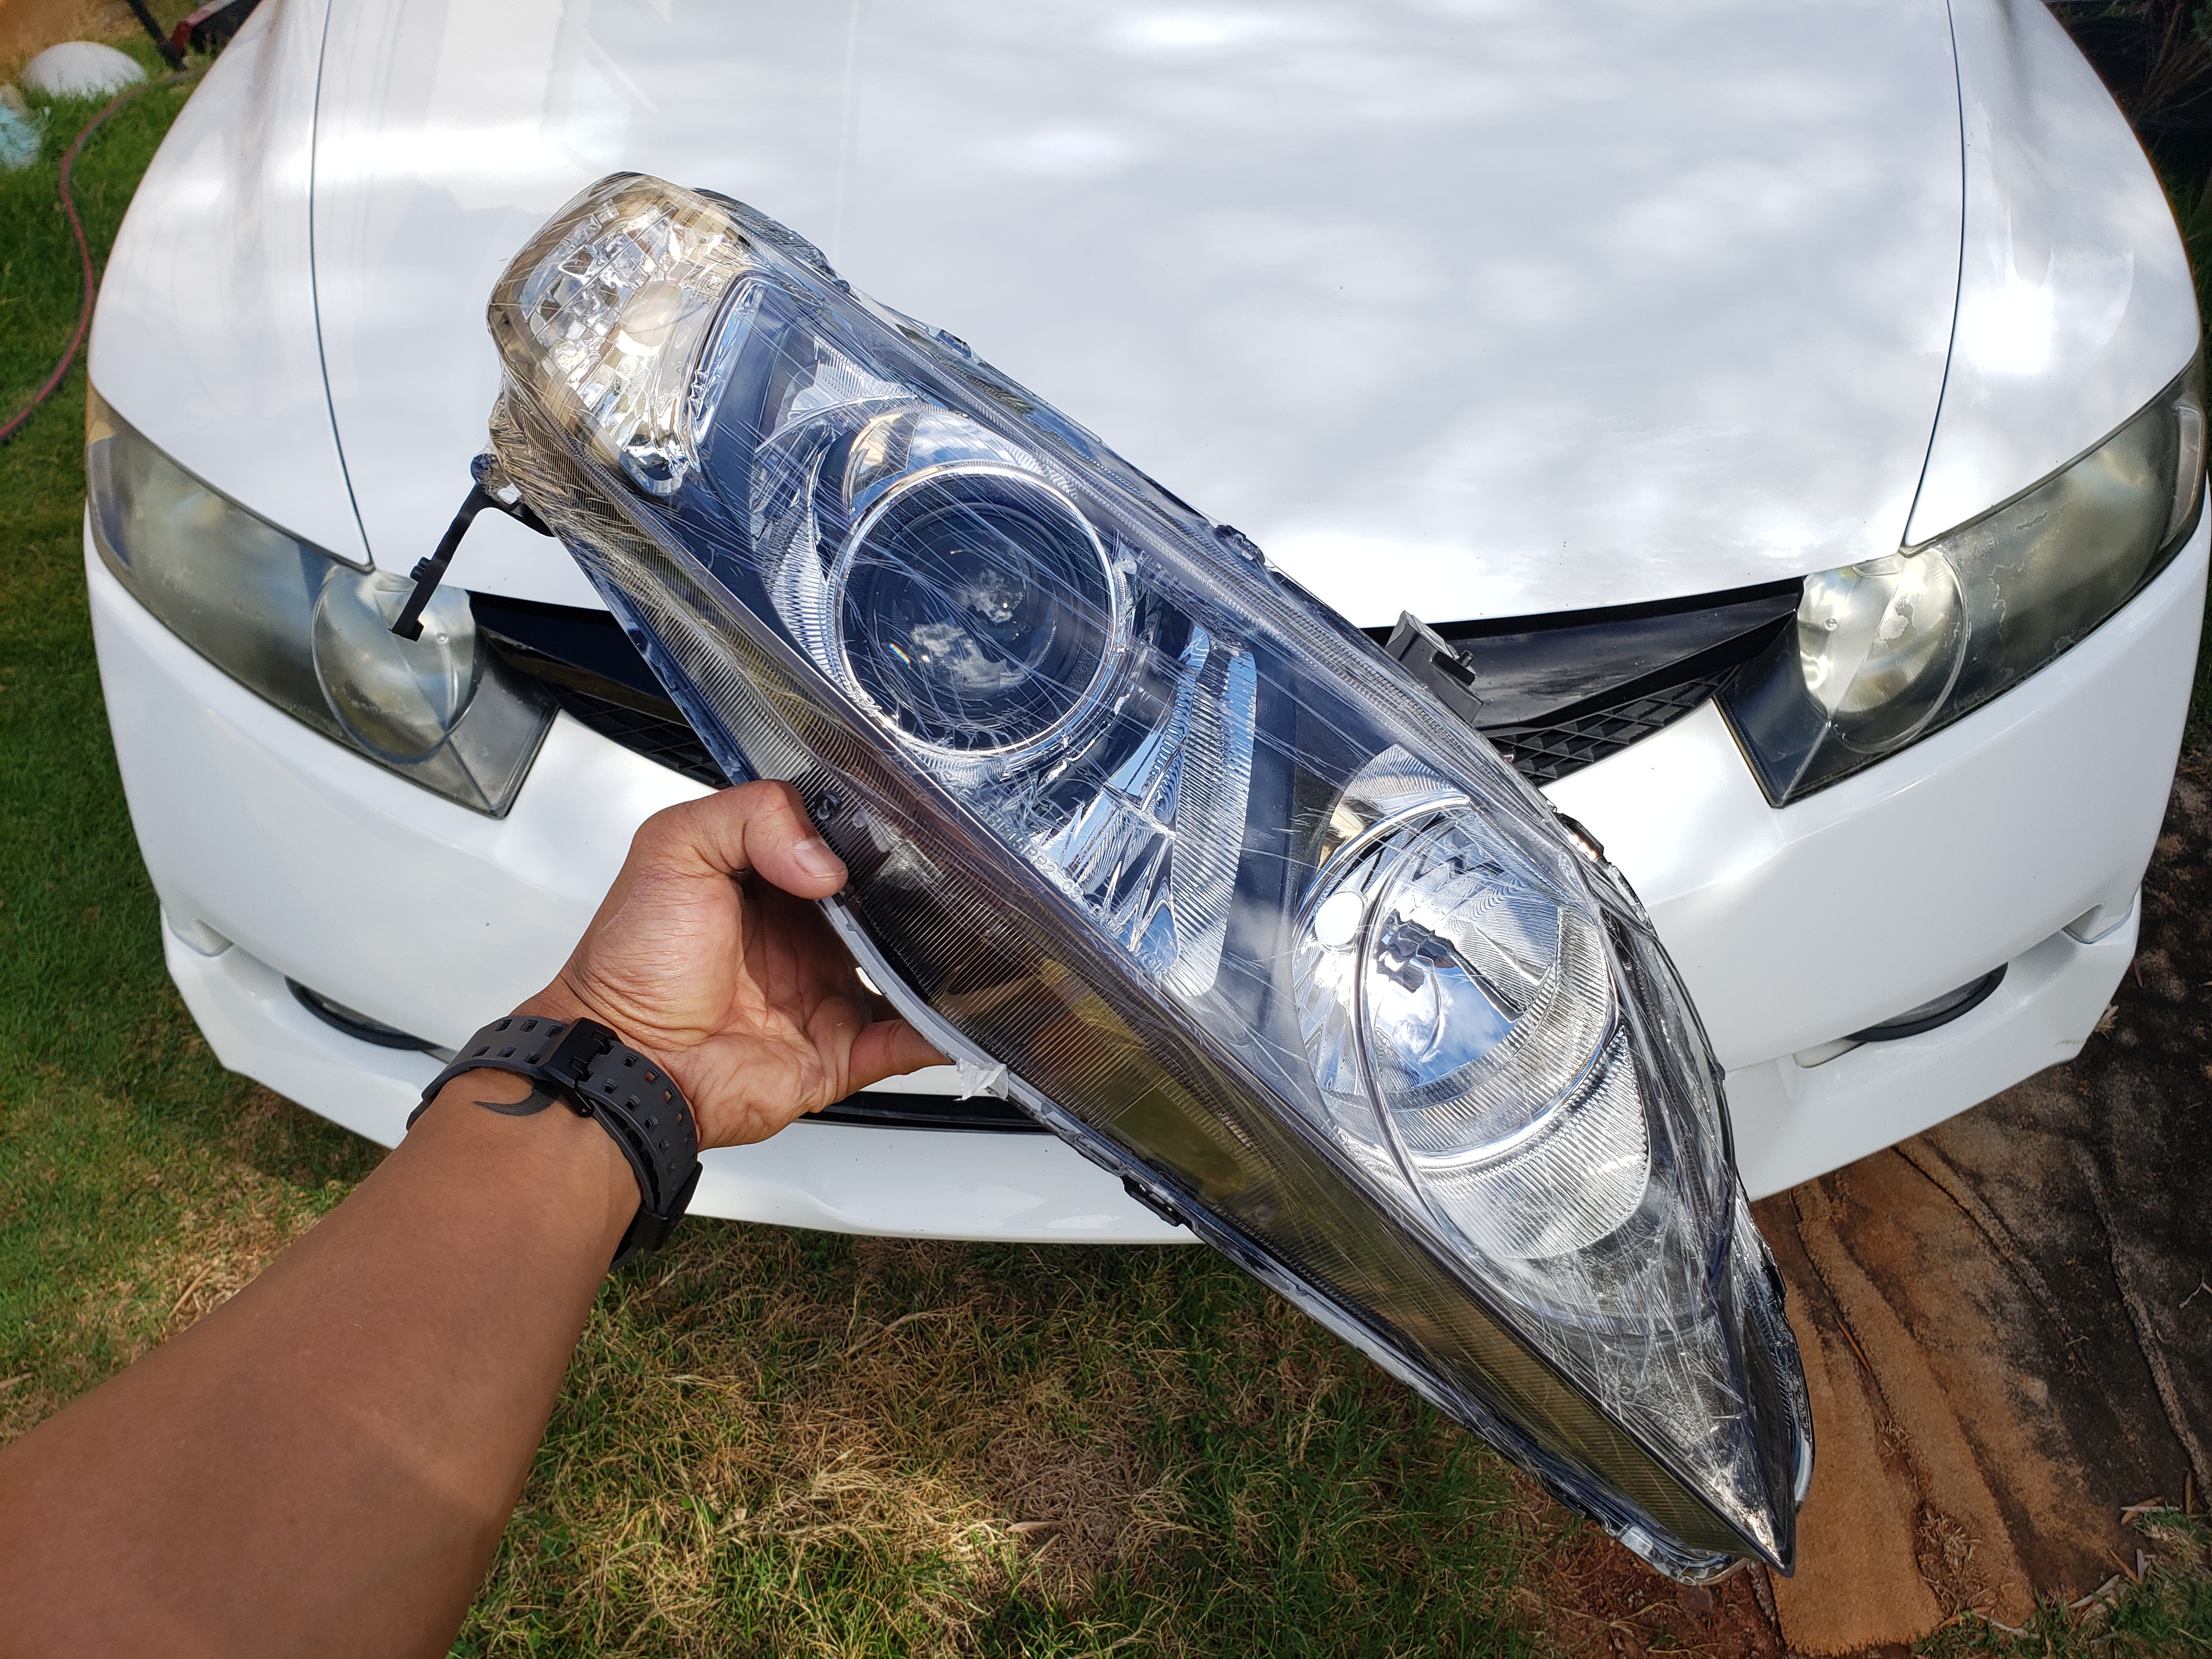
Headlight Install | 8th Civic Retrofit |


I had a 99 Civic coupe once and had it freshly painted Grand Prix White (the S2000 white). Prior to that I scored a brand new set of Type-R headlights right out of the motherland of Japan.
I’m more than convinced that the overall look of the car would’ve been spoiled by a set of less than par headlights…


I didn’t get my 8th gen painted but the stock headlights were pretty nasty lookin and I wanted to spice up the look.
I could’ve simply gotten some replacements or put in the time to restore the headlight, but after reading about the advantages of retrofits and looking at some instagram pages with them installed on cars, I ordered a custom set from precisionworkz.

My retros are a simple build inspired by the headlight of the EK chassis Type-R with the trim inside the sprayed gunmetal. I wish that it were a little lighter gray, but I am overall pleased with the result.
Bumper Removal
The bumper needed to come off to get the headlights off.


The bumper is kinda clipped in near the headlights, but it just needs a tug to get it too come loose.


Headlight Removal
I found out the headlight actually sits on a mounting bracket. I took some various bolts first. I have the pictures for the passenger side and it’s similar for the driver’s.

Bolt 1 
Bolt 2
Headlight bracket


I removed the bracket first and it was much easier to take out the headlight afterward.
HID Relay Harness
To get the headlights working I had to do two things – add a relay harness and replace current HID bulbs for H1. I was already running HIDs in the car without (*gasp) the relay harness – I know that’s a sad face for many. Not only does the harness provide direct and consistent power to the ballasts, it’s also needed because the projector use a H1 bulb unlike the stock 9006. At first I was confused at how it was supposed to work but it’s not that complicated.

Just one side of the factory headlight bulb plug (driver’s side in my case) goes into relay harness, the harness to the ballasts, and lastly the H1 bulbs.
I just ran the harness along side the upper front support and it trails where the the ballast are – super convenient. I don’t have pics of them mounted, but there is a nice space for them between the light and the fender well. They’re just zip-tied in place.


I made sure to test the relay and bulbs were working before putting everything back together. It would’ve sucked having to take everything apart again to fix.
Finally, after taking a lot longer than I thought it would, I took a step back to admire the final results. The car has a whole new look to it. I can’t say yet about the visibility because the beam is pointed too low when I took it for a test drive. I’ll have an opinion after it’s adjusted, but until then, new headlights, the retros, and precisionworkz all get a thumbs up from me!


